How to edit your Sanity website template without touching code
Every RAYSO Next.js + Sanity template is built from sections you can edit, reorder and swap in Sanity Studio. Here is how, with no code at all.
On this page
You bought a website template so you wouldn't have to build a website from scratch. It would be a letdown if every headline change meant opening a code editor.
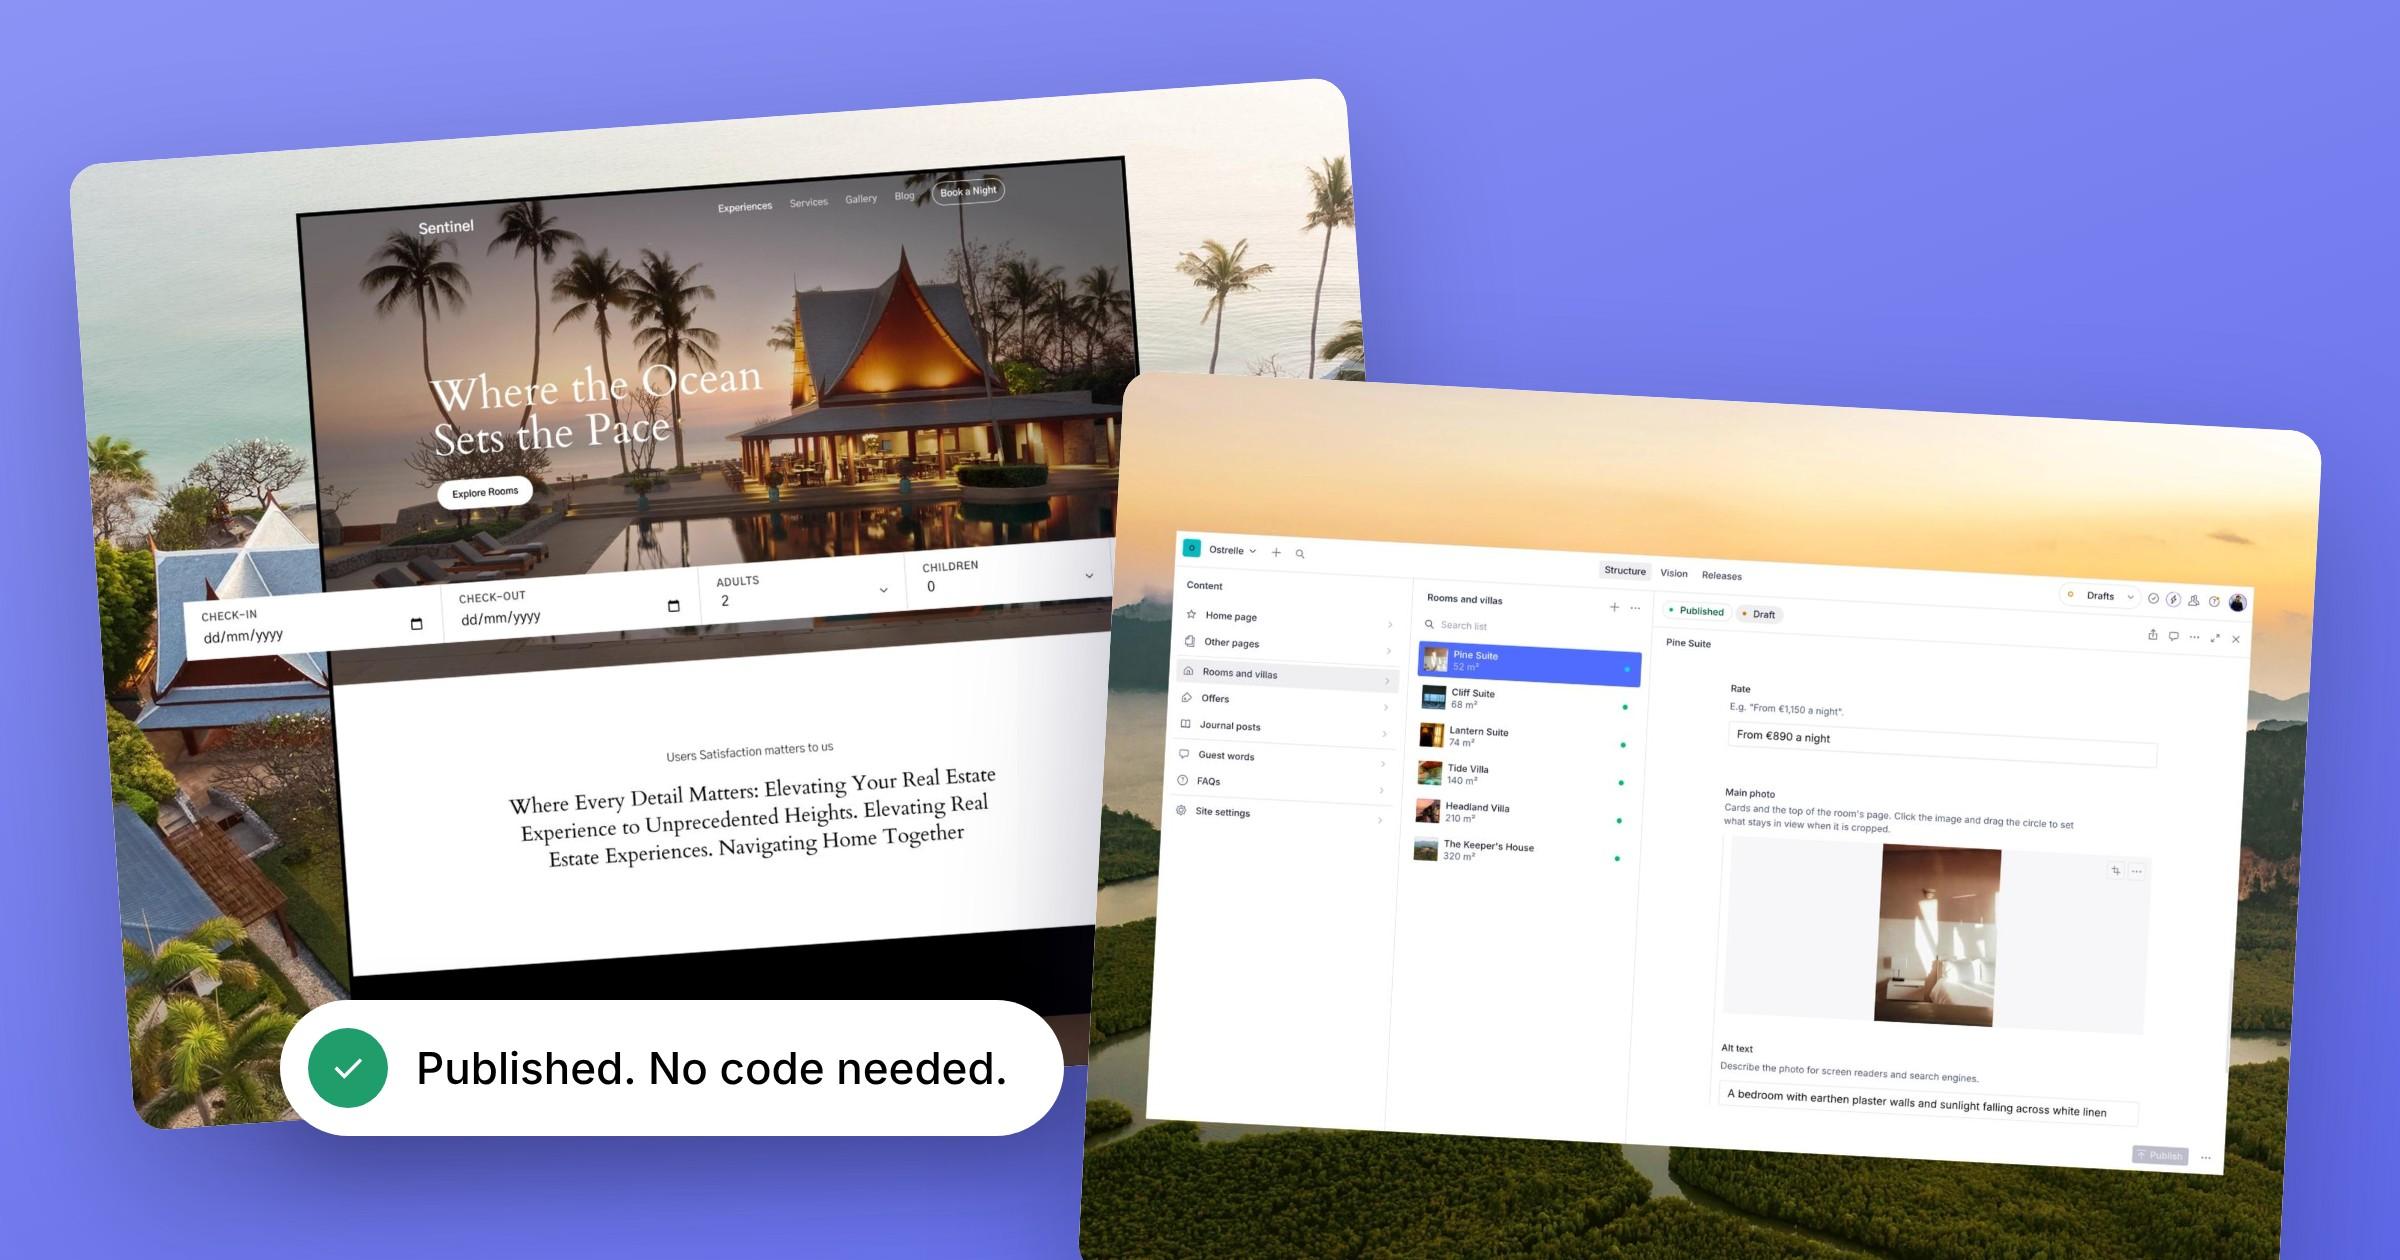
RAYSO Next.js + Sanity templates are built so that you never have to. Everything you see on the page lives in Sanity Studio, a clean content editor that comes with the template: the text, the images, the buttons, the order of the sections, even which menu style you use.
This guide walks through the parts you'll use every week.
Pages are stacks of sections
Open Pages in the Studio and pick your home page. You won't find one big text box. Instead you'll see a list of sections: a hero, a row of logos, features, testimonials, an FAQ and so on.
That list is the page. The website shows the sections from top to bottom, in the order you see them in the Studio.
That gives you three moves that cover most redesigns.
Edit a section
Click a section and change its fields. Headlines, body text, buttons and images each have their own field, with a short note under it that explains what it does. You can't break the layout by typing, because the design is already built around the content.
Reorder sections
Drag a section up or down the list. Want testimonials above pricing? Drag it, publish, and it's done.
Add or remove sections
Add any section your template includes, or remove one you don't need. Every section is designed to sit next to any other, so mixing them still looks like one site.
When you're happy, press Publish and your change is live.
Change the menu and footer in Site settings
The menu and footer appear on every page, so they don't live inside a page. You'll find them in Site settings.
- Site name. Used in browser tabs and as the default name in the menu and footer.
- Menu and footer style. If your template comes with more than one style, switch between them and keep the one that suits your brand.
- Links. Add, remove and reorder menu links, group them into dropdowns, and fill in the footer's link columns and social links.
- Contact email. Shown on the site and used as the reply address for the contact form.
Swap the demo images
Templates come with free placeholder photos so they look finished from the first minute. To use your own, open any image field, upload your photo and drag the hotspot onto the part that must always stay in view. The site crops around that point on phones, tablets and large screens.
Always fill in the alt text. It describes the image to people using screen readers, and it helps Google understand your page.
Add blog posts and projects
Blog posts and projects are their own documents, separate from pages. Create a new one, give it a title, a cover image and your content, then publish. It appears on your blog or works page automatically, with its own page.
Don't skip SEO
Every page has an SEO group with three fields:
- Title: what shows in the browser tab and in Google. Keep it under about 60 characters.
- Description: the short text under your link in search results. Aim for under 160 characters.
- Share image: what shows when someone shares the page on social media.
You don't need to fill these in on every page. Site settings has a Default SEO group that any page without its own SEO will use. Set it once, then write custom titles and descriptions for the pages that matter most, like your home page and your services.
Getting contact form emails
The contact form is ready to go. To receive messages in your inbox, the template uses Resend, a free email service. The setup guide that comes with your template walks you through connecting it in a couple of minutes. After that, every message lands straight in your email.
The short version
- Pages are lists of sections. Edit them, drag them, add or remove them.
- Site settings holds the menu, footer, site name, contact email and default SEO.
- Images need an upload, a hotspot and alt text.
- Blog posts and projects are their own documents and appear automatically.
That's everything you need for day-to-day editing, and none of it needs code. If you get stuck, get in touch and we'll help.